
How to Hang Wall Art: A Designer’s Guide
Art is more than decoration—it’s a reflection of your personality, your travels, and the moments you cherish. But even the most stunning piece can fall flat if it’s hung incorrectly. Placement, scale, and proportion all work together to create harmony in a room. At Emily Moss Designs, we treat art as the finishing touch that pulls an entire space together. Here’s our step-by-step guide to help you hang art like a designer.
1. Start with Eye Level

Hanging artwork too high is one of the most common design mistakes. A good rule of thumb is to position the center of the piece at 57–60 inches from the floor, which corresponds to average human eye level. This creates a natural flow from room to room and ensures the art feels connected to the space rather than floating above it. In rooms where people are mostly seated, like a dining room, you can even adjust slightly lower to meet the seated line of sight.
2. Consider Scale and Proportion

Art should feel like an extension of the furniture and architecture around it. When hanging a piece above a sofa, bed, or console table, choose artwork that is roughly two-thirds the width of the furniture below. This proportion creates visual balance and prevents the piece from looking too small or overwhelming. If you already have a piece that’s smaller, consider layering it with sconces, a mirror, or smaller complementary art to expand its presence.
3. Create Balance with Groupings
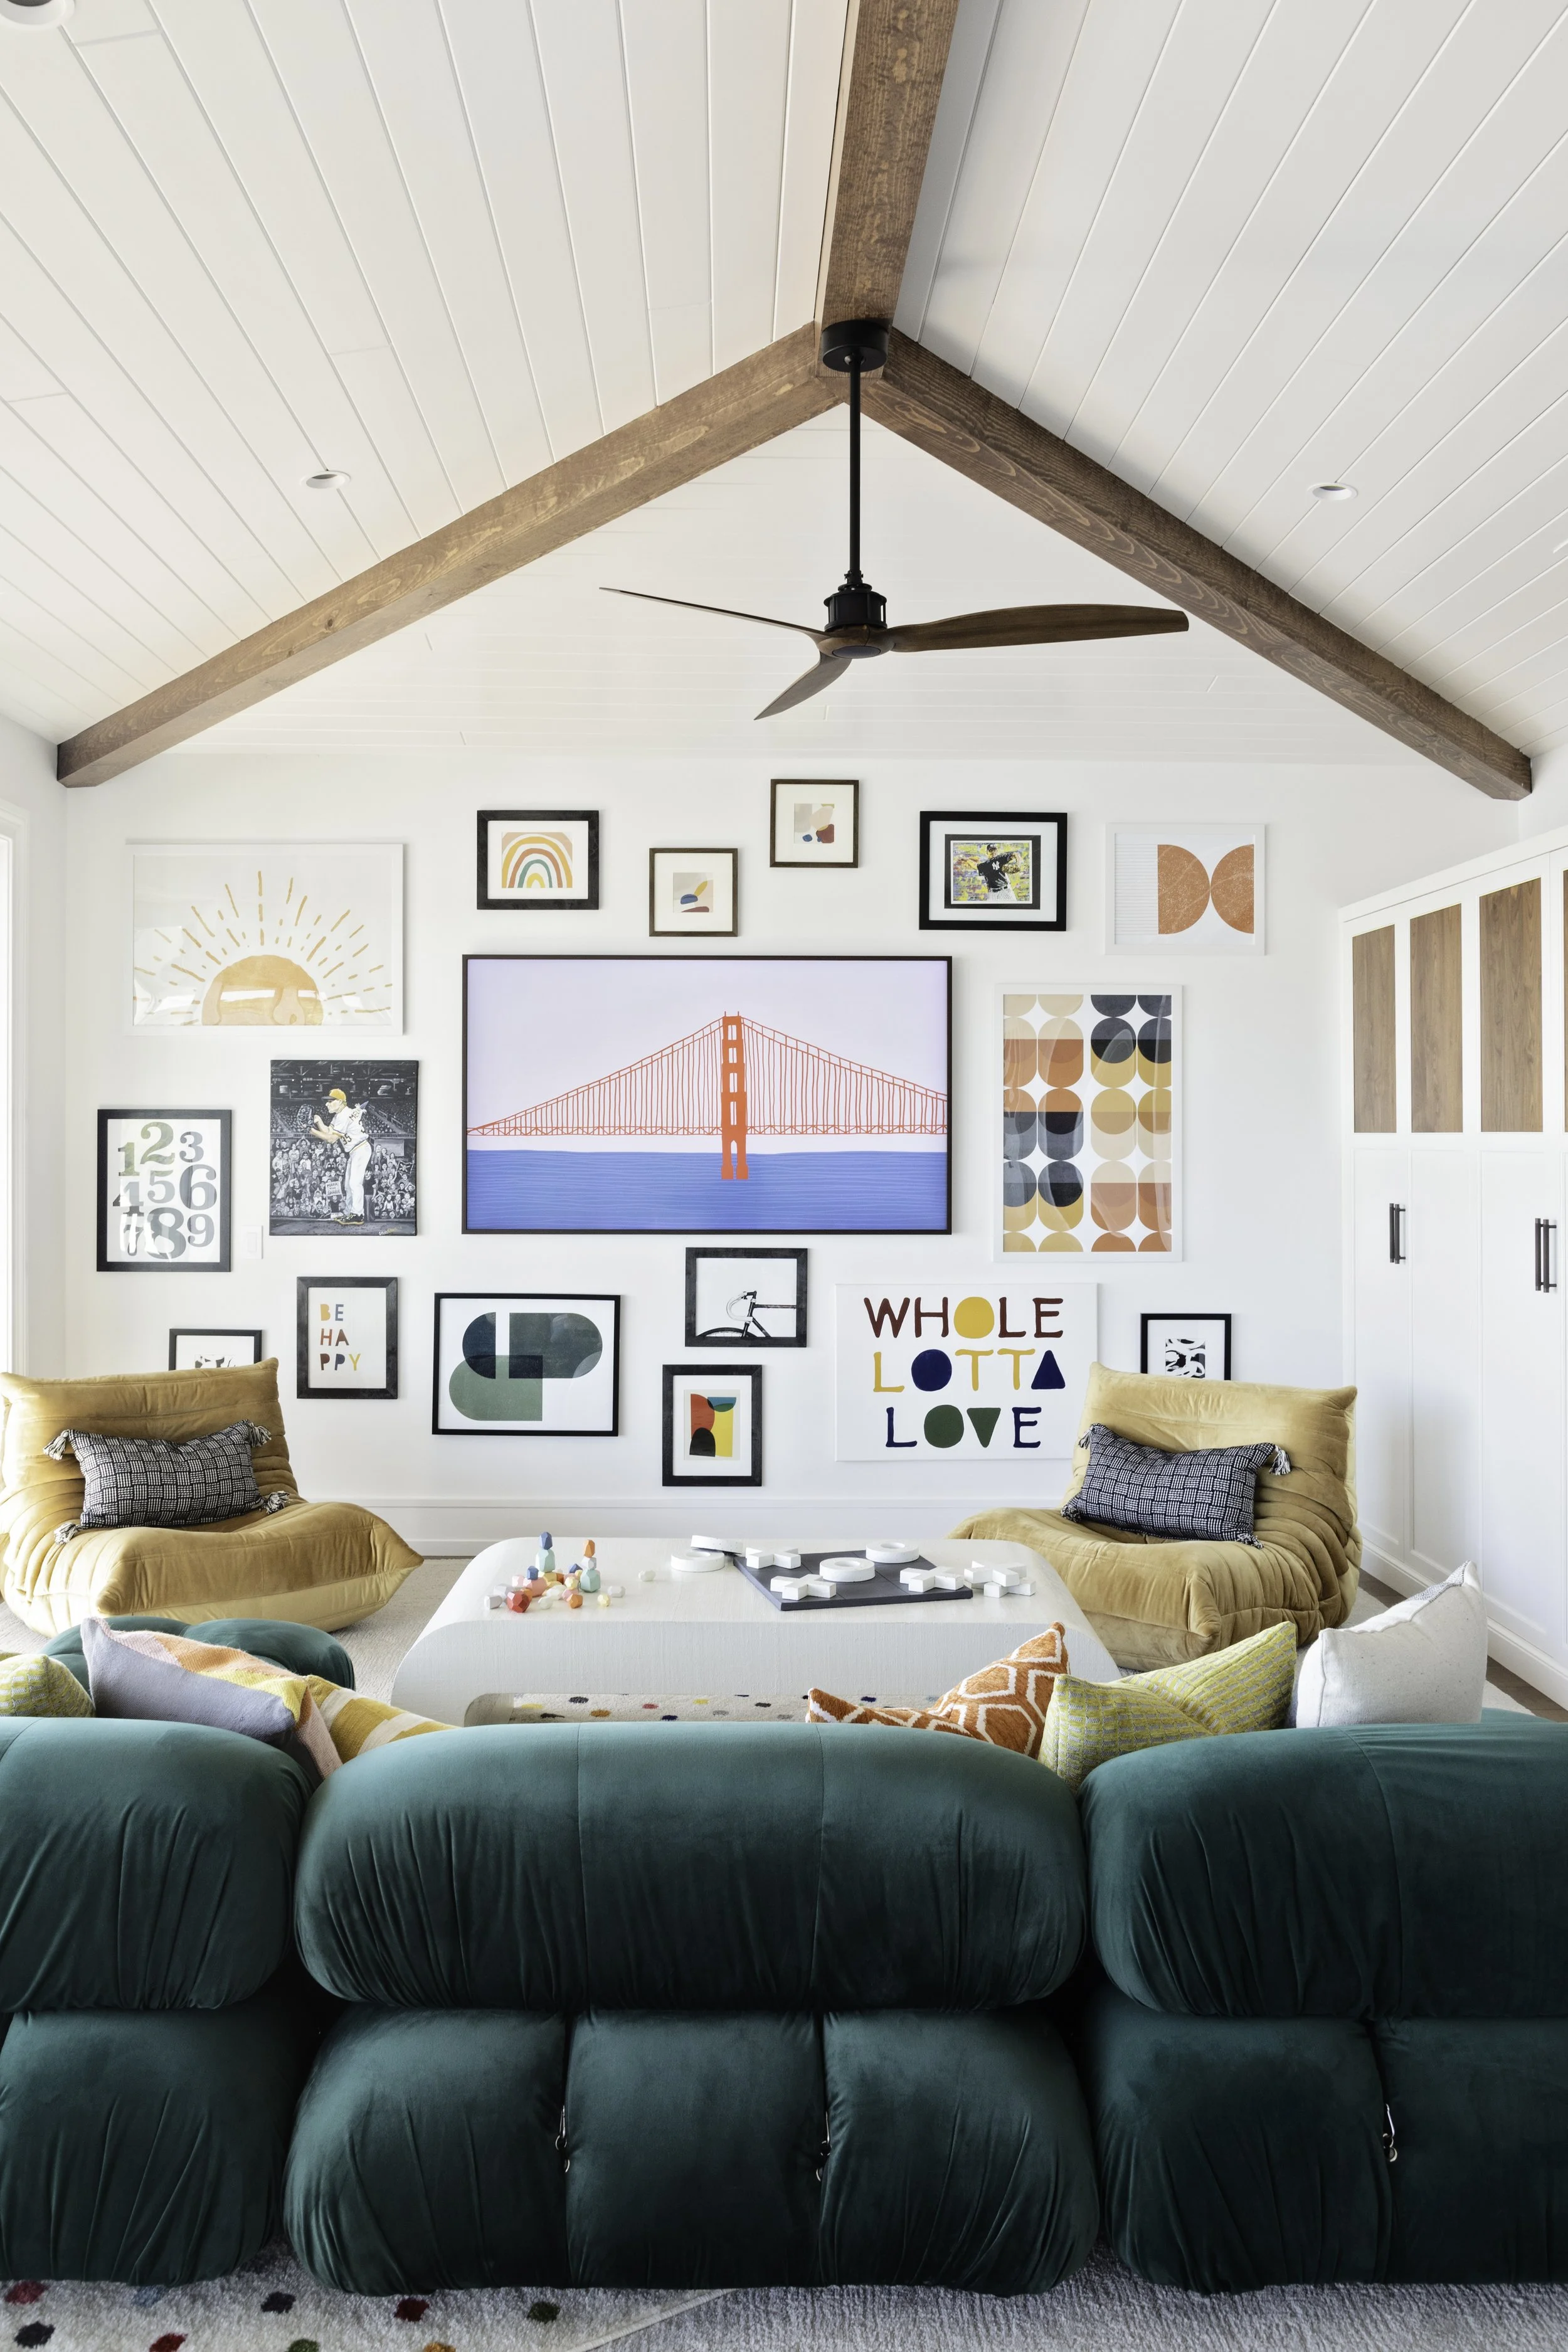
Gallery walls and multiple-piece arrangements bring personality and storytelling into a home, but they require thoughtful planning. Lay out the arrangement on the floor before you begin hanging to test spacing and flow. Stick to a consistent gap—2–3 inches between frames—to avoid a cluttered look. For a gallery wall, start with the largest piece slightly off-center and build outward, keeping balance in mind. Mixing frame styles and sizes can add character, but unify the collection with a common thread, whether it’s a color palette or frame finish.
4. Use the Right Tools
Even the best placement can fall short without secure installation. Invest in quality picture hooks, anchors, or museum-style hanging systems to protect both your walls and your artwork. For heavier pieces, wall anchors are essential. Use a level and measuring tape to ensure precision—eyeballing often results in uneven lines. A quick designer trick: keep painter’s tape on hand to mark dimensions on the wall before committing to nails.
tap to shop picture hanging tools


5. Think Beyond the Living Room

Art belongs everywhere, not just on the main walls of your home. Small prints in a powder bath, a statement piece in the kitchen, or family photos in a hallway can bring warmth and personality to often-overlooked spaces. In more functional areas like mudrooms or laundry rooms, art adds charm and makes the space feel cared for. By incorporating art throughout the home, you create a cohesive story that follows you from room to room.
The right art, hung in the right way, doesn’t just decorate a wall—it completes a room. By focusing on height, proportion, and thoughtful arrangements, you can ensure your pieces feel intentional and elevated. If you’re unsure about placement or scale, that’s where a designer’s eye comes in. At Emily Moss Designs, we help clients select and hang art that enhances their home’s style while reflecting their personality.